Translate

Monday, April 29, 2013

Negate

fluorescent flowers


This is the simplest tute of all.

Take any picture to imagemagick

Effect-sharpen

Enhance-negate

Modify the color by Enhance-Hue (parameter can be 1% to any)

Decorate - parameter 15x15

raise-sunken-raise-sunken

Save the file as jpeg/png


Sample:


Sunday, April 28, 2013

Charcoal Drawing


Take an image to imagemagick preferably black and white,

If the image is colored , then go to colormap, check the gray scale box( make sure to uncheck 


all  other boxes) 

Now go to F/X- put 1 in the slot and click on charcoal drawing.

Then Effect – blur-1

Composite- screen over the original image.

Save the image as jpeg or png.


More samples: 


Saturday, April 27, 2013

Spread Effect

Russian Winter


Go to imagemagick 

Draw a rectangle with parameters 40,40   302,302 (make sure there is space between sets of 

numebrs) 

Fill color- either none or black

Stroke color- #ED6576

Stroke width-8

Effect- spread-3

You can stop here and composite following the png image over the background.


The result will look like this


Or, you can go to effect again emboss with parameter 1, and then compose the picture in the 

middle. The image should look like this


Save the file as gif or png.

Now  you can take it to LunaPic and add floating heart. The choice is yours. 

Animated version of the above image

Sparkling Flower Basket 


Flower Basket with floating pink hearts

Another sample


Friday, April 26, 2013

Sketching Portrait


I took this picture to imagemagick 


Matted out the white background

By fuzz-9999. (This step is totally optional )

I made the image gray at colormap

I went to effect – then pressed edge detect and emboss- 1, white thresh hold-1, and blur-1

Enhance – normalize, and effect -blur-1

Coloring


To add  color  I took this brown background to composite and compose –overlay by 

clicking the radio button  ‘tile  across and down the canvas’


I then saved the image as jpeg. 

Another Sample


Free Masks


Feel free to download the masks.


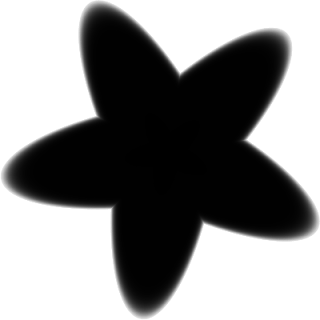
Five Metal Floral Mask

Animal Track
Leaf Mask

Floral Mask


Using Mask


Take the mask to imagemagick.
Floral Mask


At composite paste the url of a  wallpaper or any picture you want to use by pressin 

Composite – atop/in

Save the file as png 


Additional Manipulation

Take the saved image  to the imagemagick studio.
Composite the wallpaper over.
Go to  Effect ,blur - 0.0x10.

Again go to composite- compose  mask image  over and then overlay. 

Save it  as jpeg or png

Final Result:


More Sample

Below is the link to some free mask 
http://greetinggraphics.blogspot.com/2013/04/free-masks.html


Wednesday, April 24, 2013

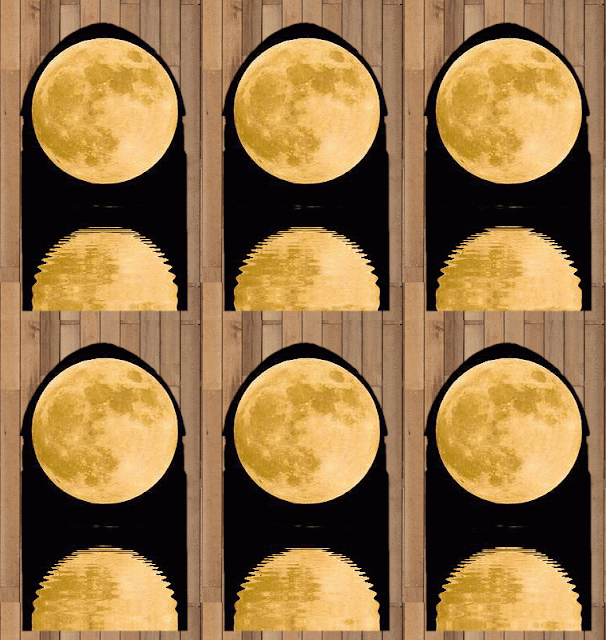
Window


Make a transparent background of size 506x400 at imagemagick

Take this window to imagemagick and composite on the background with gravity west and then 


with east.


Now go to composite again and paste the url of the following wallpaper . 
Composite- DstOver 


Decorate the image with border color - #CDB38B.

Final image


One more sample


Sunday, April 21, 2013

Mirror Effect

Perspective of Vintage Lady


Take the mirror to imagemagick. Composite the lady in its the center.

Mirror png 

Vintage Lady png
The result should look like this image


Go to F/X , copy the following parameters and paste them in the slot. 


0.5,0 ,0.5,0 0.5,100 0.5,100 125,100 50,120 125,0 50,25


Click on distort. Change distort type to perspective and check reset page geometry box 

(should already be checked) below miscellaneous options.

Press effect. 


To move the image to right, at transform, click on the flop radio button and transform. 

Composite again the image of lady but with the  offset +10+30 and gravity center. Here is the 


final result. 

Save the file as png if you want transparent background. 


You can now flop and transform the entire image to shift it to left. Choice is yours. 


Another Sample
 Perspective Effect


Atop and In


Atop and In are two functions by which you can  decorate with   texture to any structure on transparent background. The detail instruction  is given below. 
Take the following ellipse to imagemagick.
Ellipse

 Upload the green plasma tile at Composite. Choose either atop or in and click on the 'tile across and  down the image canvas'  button. Now press composite. 
Here is the final result. 
You can now composite the picture of your choice in the green elliptical frame. 


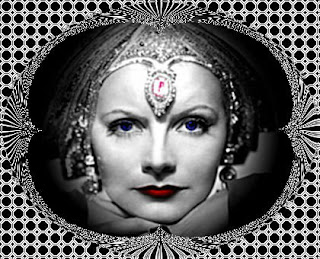
Imploded Frame


Greta Garbo
At imagemagick studio,
Make a background using pattern format
Size= 420x340
Meta = octagons
Format= pattern
Click on view.
Effect- (0.0x1.0) edge detect
F/X-60 Implode
To remove any trace of white space, go to view, input fuzz-100, fill color-black and change paint type to color and method to floodfill. Place the cursor over the white space and right click on the mouse.
When done with coloring you should see something like this
Imploded Frame


Now composite the following image as plus or exclusive. Try other options also. Save the image in  jpeg format.
 More samples:


Audrey Hepburn

Paul Newman


Saturday, April 20, 2013

Using Dingbat to Create Image

i love music photo none-7.gif


Dingbats fonts are symbols, ornaments, and catoons. Imagemagick  has some unique dingbat fonts which can be used to create banners, tiles, and wallpapers. Here I have used Davy Other Dingbat.
The following image shows the  letters and digits with corresponding characters and symbols of Davy Other Dingbat.
Davy Other Dingbat


This tutorial will teach how these fonts can be used to create a simple banner. 

Transparent Background 
 Use the following instruction to create the background:
Size -520x240.
Meta -none
Format-xc
Click View.

Annonating Dingbat 
Go to Annotate-> Font- >Davy’ Other Dingbats
Fill Color- gray
Point Size-78
Input the following parameters one at  a time
  1. Begin with ‘9’  offset +0+0, gravity –west, click annotate
  2.  Annotate again input ‘5’ , offset  +40+0, gravity –west-> annotate.
  3.  Input ‘)’-press shift and 0, offset -80+0, gravity –center > annotate.
  4.  Input ‘ =’ offset 0+0, gravity –center > annotate
  5.  Input ‘}’ shift and ],  offset  +40+0, gravity –center > annotate
  6.  Input 6, offset  +80+0, gravity –center > annotate
  7.  Input ‘r’ offset  +100+0, gravity –center > annotate
  8. Input’ 7’ offset  +140+0, gravity –center > annotate.
  9. Input ‘4’ offset +200+0, gravity –center > change point size to 64 -> annotate,

 Annotating  Text 
Go to annotate- type in the text box’, choose the font of your choice, and change the point size , fill color,  gravity,  and offset to position the text in the image.


Here I used the font Beffle Regular, point size-45, density -93, offset +0+70 gravity –center.
fill color-  none , stroke color -gray, stroke width-2.


I love music


If you want to glitterize the  whole thing,  find the glitter tile of your choice, go to composite, upload the tile file  –atop/in , click-tile across and down the canvas, now composite. Save the file in gif format. 

I used the following tile 

Here is the final  image 

I love music photo none-8.gif
I Love Music


Another sample of the dingbat


 photo D49663.gif